Creating a Custom Expense Tracking App with Power Apps

In today’s fast-paced world, managing your finances efficiently is crucial therefore creating a custom expense tracking app is an important topic. Whether you’re an individual trying to stick to a budget or a business owner keeping tabs on expenses, having a reliable expense tracking system in place can make a world of difference. Enter Power Apps, a versatile and user-friendly tool from Microsoft that allows you to create custom apps without extensive coding knowledge. In this blog post, we’ll explore how you can leverage Power Apps to create your own custom expense tracking app.
Why Build a Custom Expense Tracking App?
Before we dive into the how-to, let’s consider why you might want to create a custom expense tracking app in the first place. Here are a few compelling reasons:
- Tailored to Your Needs: Generic expense tracking apps might not meet your specific requirements. By building your own app, you can customise it to match your unique needs and workflows.
- Cost-Effective: Developing a custom app can be more cost-effective in the long run compared to subscribing to a paid service or hiring a developer to build one for you.
- Full Control: You have complete control over the design, features, and data storage of your app.
- Integration: You can easily integrate your custom app with other Microsoft tools like Excel, SharePoint, or even Power BI for advanced analytics.
Now, let’s get started on creating your custom expense tracking app with Power Apps.
Step 1: Define Your Requirements.
Before you start building, it’s crucial to define your app’s requirements. Consider the following:
- User Roles: Who will use the app? Define user roles and permissions accordingly.
- Expense Categories: What expense categories do you want to track?
- Data Structure: Decide how you want to store expense data. You can use SharePoint lists, Excel spreadsheets, or other data sources.
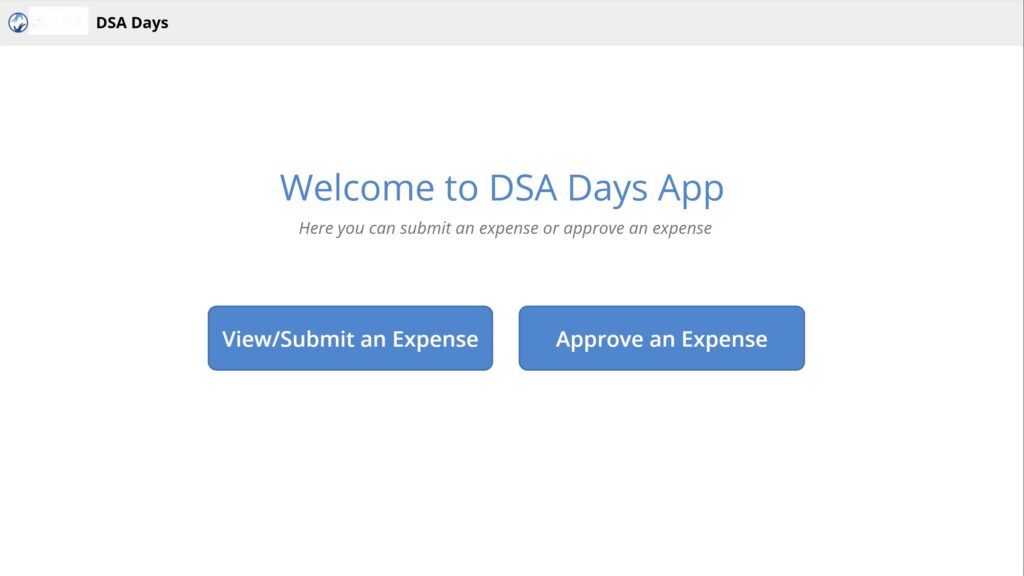
Step 2: Create a New App
- Log in to Power Apps: Visit the Power Apps website and log in with your Microsoft account.
- Create a New App: Click on “Create” and select “Canvas app from blank.”
- Design Your App: Use the drag-and-drop interface to design your app’s user interface. You can add input forms, buttons, galleries, and charts as needed.
Step 3: Connect to Data
To store and manage expense data, you’ll need to connect your app to a data source. Here’s how:
- Add Data Source: In Power Apps, click on “Data” and select “Add a data source.” Choose the appropriate source, such as SharePoint or Excel.
- Create Data Connections: Establish connections to your data source and configure it to retrieve and update expense information.
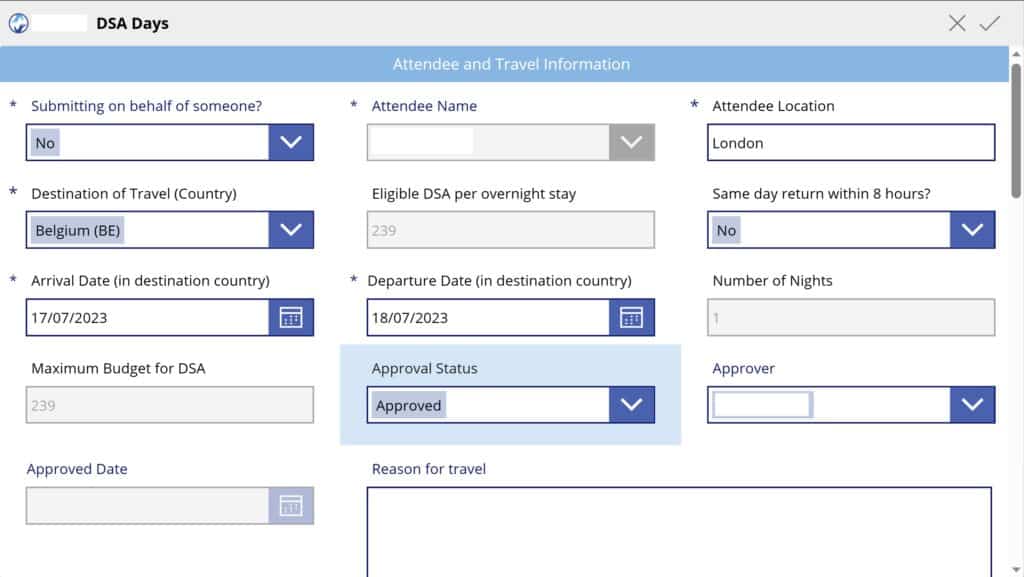
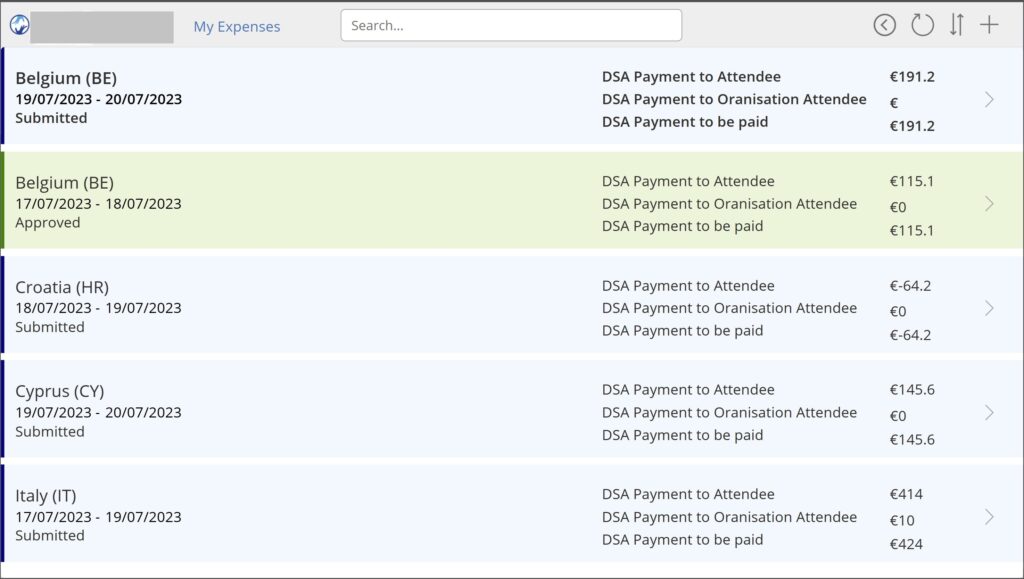
Step 4: Build Expense Entry Forms
Design forms that allow users to enter expense details, including date, category, amount, and description. Use controls like text inputs, drop-down menus, and date pickers to create user-friendly forms.
Step 5: Implement Logic
Add logic to your app to calculate totals, apply filters, and enforce business rules. For example, you can create formulas to calculate monthly or yearly expenses, set budget limits, or generate expense reports.
Step 6: User Authentication and Permissions
If your app will be used by multiple users, implement user authentication and set permissions based on user roles. You can integrate with Microsoft 365 for this purpose.
Step 7: Testing and Feedback
Before deploying your app, thoroughly test it with a group of users to gather feedback and make necessary improvements.
Step 8: Deployment
Once you’re satisfied with your custom expense tracking app, you can deploy it to your organisation using Power Apps.
Conclusion
Creating a custom expense tracking app with Power Apps empowers you to take control of your financial management or streamline expense tracking for your business. By defining your requirements, designing a user-friendly interface, connecting to data sources, and implementing logic, you can develop a tailored solution that meets your specific needs. Power Apps’ flexibility and integration capabilities make it a powerful tool for custom app development, even if you’re not a coding expert. Start building your app today and gain better control over your expenses.